Do you have a sloppy shifter? Did you buy an aftermarket short shifter only to find out it didn’t work right? I am going to teach you how to pinpoint the cause of your sloppy shifter, then tell you what to do to fix it.
PART 1
Most people go out and buy a new shifter and install it only to find out that it didn’t fix the problem or that the new one doesn’t work right at all. Such as the lock out for reverse didn’t seem to work. You can down shift to second only to find it’s trying to go in reverse. Your problem 90% of the time is not the shifter, it’s the shift rod bushing. A low dollar part that is a pain in the ass to replace. You might be thinking, “Really? Didn’t know I had one. Where in the hell is it? I have never seen it.” Well that’s because it’s in the tunnel on a Bug, Ghia, Thing, and Type 3. On a bus you can see it but most people don’t know it’s there or maybe it’s been missing for so long that they didn’t know that its supposed to have one.!
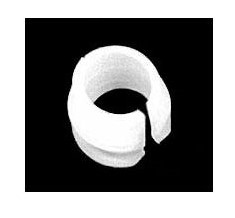

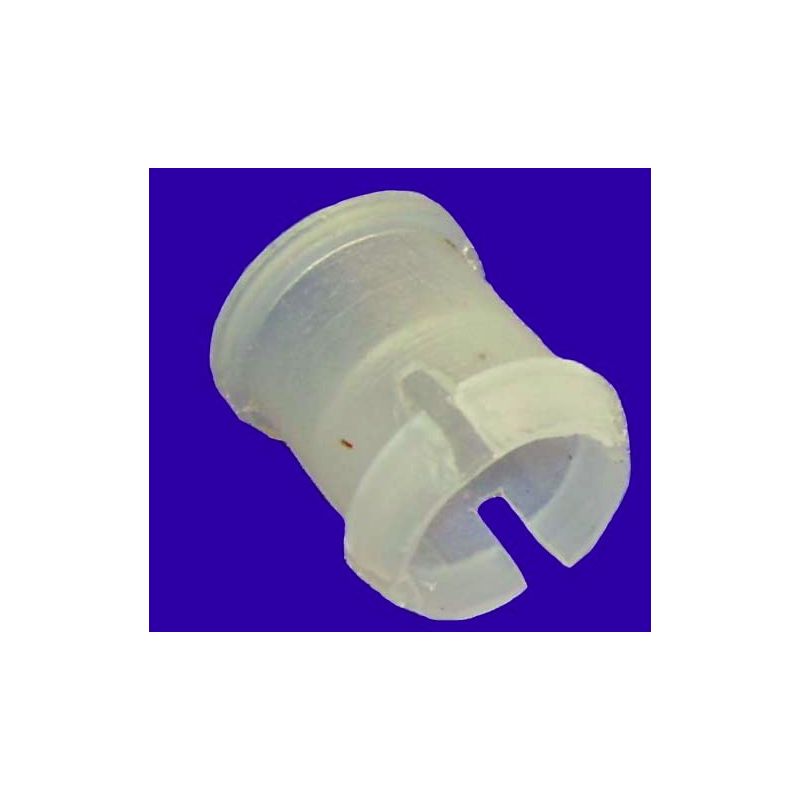
Why is this bushing so important? This bushing allows the shift rod to move back and forth and side to side. If you don’t have a bushing, you will have slop. Also, this means that the rest of the parts are now rubbing metal to metal, making them wear out faster. I have seen where the hanger that holds the bushing wears out and breaks and the shift rod falls down, then we have no way of shifting the car. This leaves you in whatever gear you were in when it broke. The bushing provides a movement of the rod and keeps the rod tight. So whatever input you put in on the shifter is what happens back at the trans. If there is no bushing or it’s wore out, the input from the shifter does not make it to the trans. In other words, let’s say you are going from 2nd to 3rd. The rod should twist or rotate. Instead, the rod just moves sideways instead of rotating. Make sense?
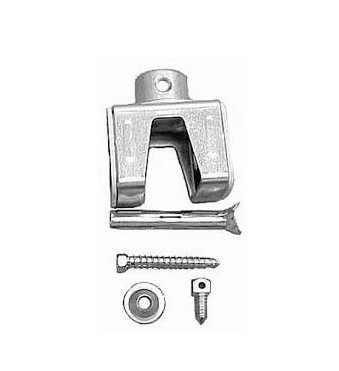
How do I know if mine is bad? While you’re checking things out, let’s look at the rear shift rod coupler first. You might need one of those too. On Bugs, Ghias, and Things you will need to remove the rear seat. On top of the tunnel you should see a plate that is held down with a screw. Remove the screw and remove the plate. You should now see the coupler. On buses and type 3s, the coupler is under the car just in front of the transmission. There are two types, round and square. With the e-brake on and the car off shift the car through all its gears. Keep and eye on the shift rod and the shaft coming out of the trans. What ever the rod does should be the same input on the shaft coming out of the trans. If you see the shift rod move before the shaft that comes out of the trans then your coupler needs to be replaced. Once you have made an assessment of the coupler, take the shifter out (on buses up to 1965 put the bolts back in and snug them up). Grab a pair of needle nose pliers. Grab the cup that the shifter fits into and see if it has slop in it. Up and down and side to side. If it does, put the shifter back in and drive or order the correct bushing for you car. Have one ready. Hell, buy two, they’re cheap enough. Also, do you need a shift rod coupler? Was yours sloppy? Make note if yours was square in shape or round. You will need to get the correct one. Round ones are in early cars and square were in the later years.
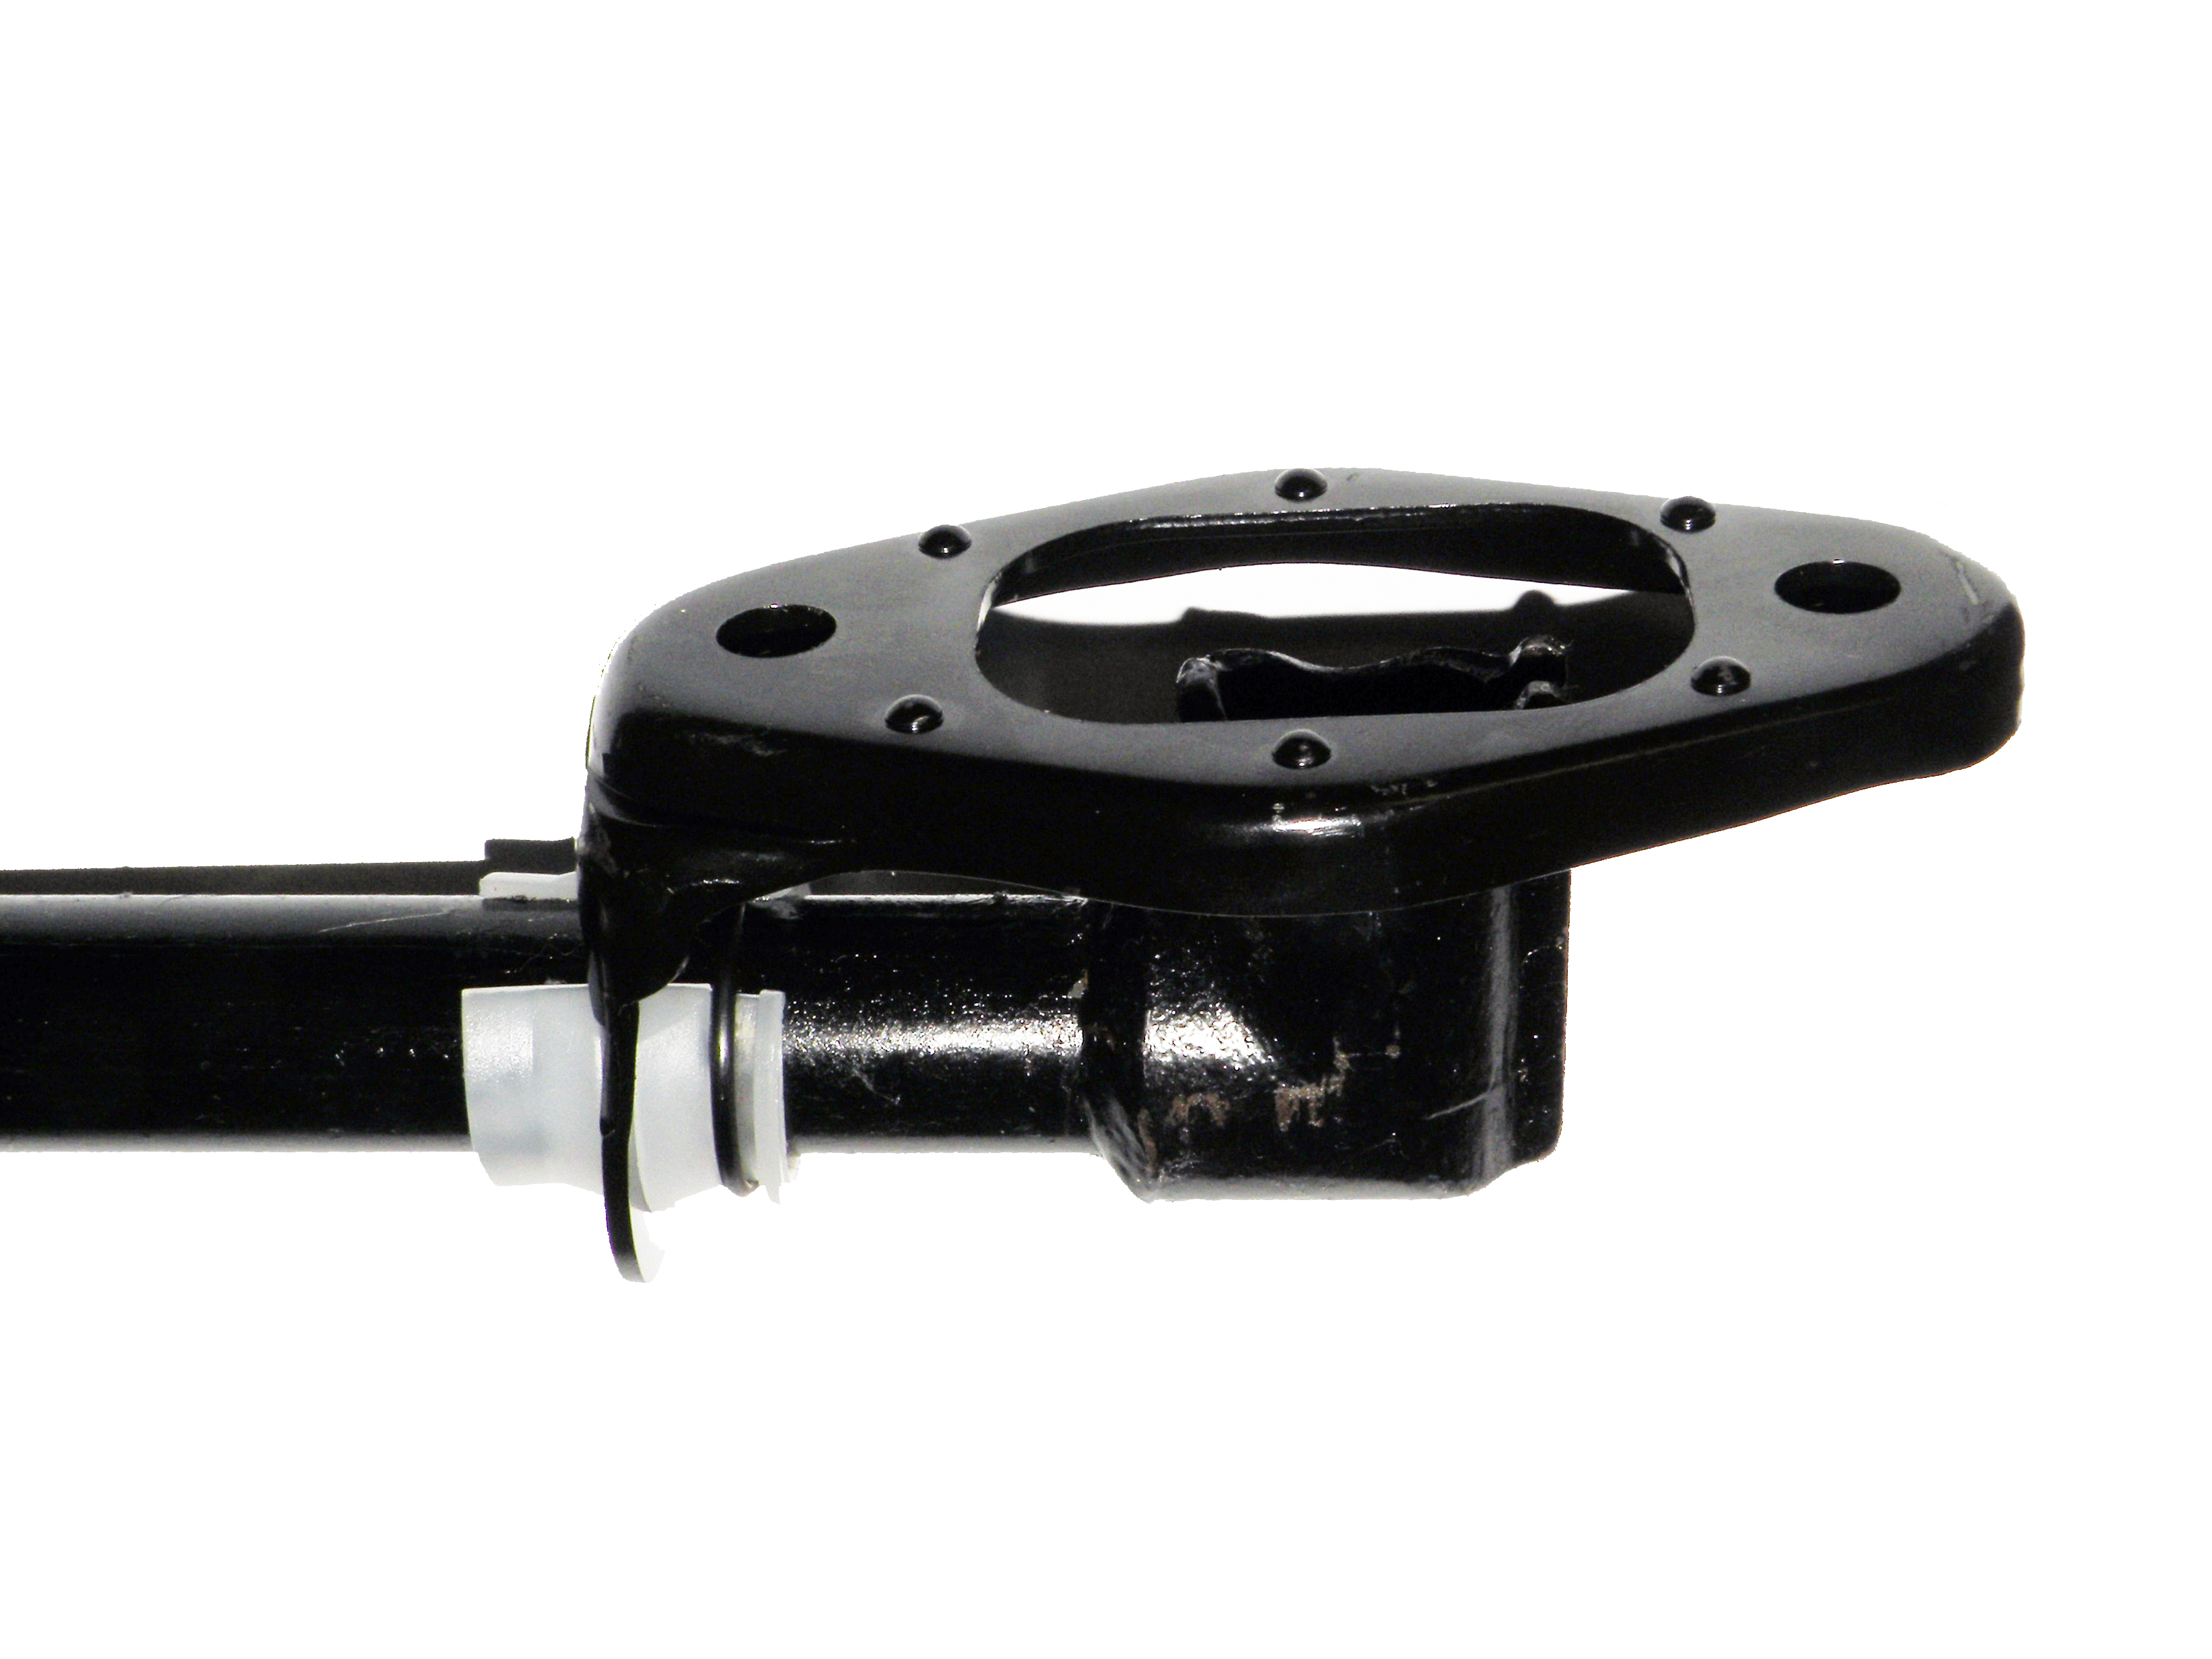
When buying the shift rod bushing there is basically stock for a stock car. With sand rails you have an aftermarket option. On the shift coupler there is stock and urethane. Urethane ones don’t really wear out but do transmit noise. If your not worried about noise then I would use the urethane. There is one more part here that we haven’t addressed yet that you might need but we really wont know until we get things apart and that is the shift rod bushing hanger. To replace one of these, drilling and welding is involved. Not all cars have this hanger (Buses 1966 and on do not). They have a pin at the end of the shift rod that the bushing rides on. Lets hope you don’t need one of these because I don’t think you can buy them new. With that said, hangers and guide pins don’t usually wear out.
PART 2
Part two is going to walk you through what to replace and how to go about it.
If you have a car with a tunnel then we need to locate the access plates to get the shift rod out. Start by jacking up the front of the car. On the frame head you will see a plate. If you have a front beam, it is in between the two tubes. It has two 10mm headed bolts holding it on. If you have a super beetle then look between the front control arms. From there, look in line with that plate forward towards the front bumper. You should see another plate. The plate will have to be removed from the trunk area. Yeah I know, you have to take all your stuff out of the front that you have stored there for years to get to it. Once the plates are off we can get back into the car.
Now, start by taking the shifter off if it’s not off already. Then take the rear shift rod coupler off and out. Now get comfortable in the drivers seat and use a pair of regular pliers and gently grab the shift rod through the shifter hole. Inch the rod forward. You will get approximately 2 inches a grab. Keep inching it forward. If it stops, you need to rotate it or you have gotten to the front of the frame head. If you think your rod is at the front, you will need to reach your fingers into the hole and fish the rod out. You only need to pull the rod far enough to get it out of the hanger. You should here it drop. Now back into the car. Take your finger and pull out what is left of the old shift bushing if there is one. If you want to see what you’re looking at, use a mirror in the tunnel. Now that you’re nice and frustrated from getting the rod forward, you will need to put the new bushing in. The bushing has a snap ring on it that goes on the end of the bushing towards the shifter. If you don’t have the ring don’t worry about it. The bushing goes in the hanger and kinda of snaps in. The split in the bushing goes up. You will need to hold that split open while you put the rod back in. If you don’t, you will push the bushing out of the hanger and it will be lost. I use a large screw driver for this. Once you get the rod started you can remove your screwdriver spreader. Inch the rod back in with your pliers. Be careful not to get the rod stuck in all the tubes that in the tunnel. When you get down to where the bushing rides on the shaft take some grease and smear it on the shaft. Hook your shift rod coupler back up. Grab your needle nose pliers and grab the cup again and see how much play is there now. If you still have a lot of play, your hanger is wore out and will need to be replaced. If you don’t have any play then go ahead and hook the shifter back up and check it out.
On a bus it can be easier or harder depending how it goes. There are two shift rods that are coupled in the front and the rear. We will need to remove the shifter and the rear coupler. Now this is where it is easy or hard. Find the front coupler. You will see either one or two set screws. If the screws come out without breaking, we are home free. If not, then do not try and drill them out. It never works. You will need to use a dremel tool with cut off wheels and cut the coupler in half length wise. In other words in line with the rods. Be careful here not to cut the rods. Once the front rod is out replace the bushing and hook back up.
As for hangers, there are a couple of things to keep in mind here. The 50s cars did not have a bushing. They had a type of spring that rode on the rod putting tension on the rod that went into the hanger. These are usually wore out. You will need to update this with a newer style hanger that takes a bushing. On a bus it’s no big deal once the shift rod is out. On a car with a tunnel, it’s a big deal. If you have to replace it on your car that has a tunnel you should buy the new hanger first. Look at the new hanger and on the top you should see six little bumps. Three on each side of the hole. These are made to stick through holes in the tunnel to weld to. That’s right, welding has to happen here. Now that you have an idea where those bumps are on the old hanger we have to find them and drill them out. Use a grinder and grind the top of the tunnel around where you think those bumps are. They should show up. Use a ¼ drill bit and drill six holes. We are drilling out each of the bumps. Try and stay centered on each hole. Once the holes are drilled, thread two 8mm bolts into the old hanger where the shifter mounted. Hit the bolts with a hammer and the old hanger should just pop off. Now you get to fish the old one out and fish the new one in. It is possible to install the new hanger on the shift rod with the bushing and get it back into the tunnel. It’s a fishing trip but it can be done. Once the hanger is over the hole in the tunnel use two 8mm bolts and bolt it in tight to the tunnel. Your six bumps should be in the six holes you drilled. Now weld up the six holes and grind your welds flat. A little black paint and your good to go.
Now all of this is a pain I know, but you have to do it. Too many times have people said to me that it’s too much work. You’re right, it is. These are also the same people that come back and got stuck in one gear with no shifter.

