What is a mid mount, and do you need one? Read this first and then decide if you need one. If you own a 1968 or later bus you can stop reading as there is no way to put a mid mount on the later buses. Or you can read on and impress your friends.
What is a mid mount? It is an aftermarket mount for the transmission that usually bolts to the cluster housing on the transmission then is attached to the transmission forks. It provides a stronger front mount in a sense. There are two types and tons of different styles. The style isn’t as important as the type. There are solid ones that usually weld in to the forks and rubber ones that pretty much bolt in. So which one do you need? That depends on what you’re doing. If your car is bone stock you really don’t need one at all. If you have jumped up the horsepower and have had mount failure then you should get one. If this is a street car, either daily driver or even a Friday Saturday nite car then I would get the rubber one. If you have an off road car or a mild drag car then get the solid one. I don’t suggest the solid one on the daily driver or the Friday/Saturday night car because the minute you go solid things start to vibrate off the car.
Why do I need one when I make more power? In as simple of a way I can explain, here is what is going on- When you let out the clutch at a dead stop the pinion in the trans is trying to ride up the ring gear (unless you have a reduction box transmission). This in turn tries to raise the front of the transmission. It puts a lot of stress on the front mount. If it holds then the back of the car squats and the front of the car raises up. Enough horsepower and you do a wheelie. So think about the wheelie for a minute. The reason you’re doing one is the pinion is crawling up the ring gear. Wow, you’re putting the weight of the car and you on the front transmission mount and pinion. Damn. So having a mid mount makes that front mount area a lot stronger. Keep in mind here that is all it does. It just strengthens up the front mount. It will not do anything for fork flex. Fork flex is what causes wheel hop. Wheel hop is what breaks parts.
There are a ton of rubber mount options out there. The one I have used the most on bugs, ghias, and things is more of a strap. When these straps came out 30 years ago they fit and were a great thing. They have since been copied so many times that the hardware that comes in the kit no longer fits right out of the box. There are different styles that fit better, but don’t really do the job, so in those cases you’re pretty much putting them on for looks.
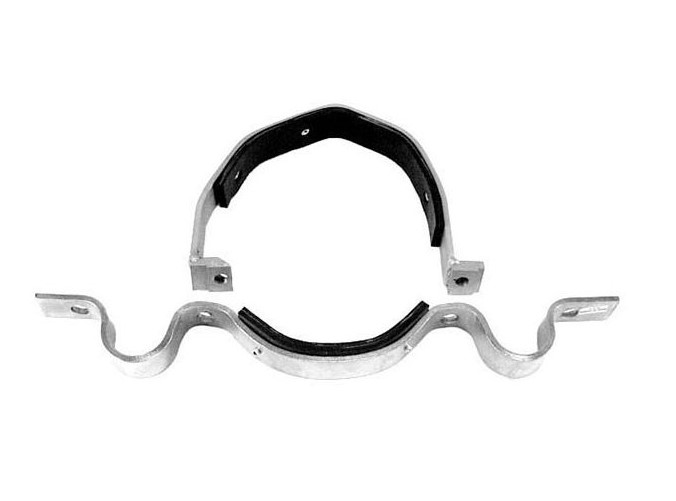
If you’re cursing and screaming while putting this on you’re doing it right. How do you make it work? First thing- see the inner tab that faces the trans? Yeah they give you a bolt that is way too long. If you put it in you will jack a hole right into your transmission. So take the bolt and cut the head off so you have a stud. Then weld the stud into that tab. You will have to find a nut that fits that thread. Next take two more of the bolts they give you and cut them in half. Again, they are too long and will run right into your brake line, putting a hole in them. Now loosen up your front trans mount. You don’t have to remove it, just loosen it. Place the upper part of the strap around the cluster housing part of the trans. Make sure you snake it around your clutch cable and throttle cable. Placement is key. It should fit perfect with the seam of the cluster housing. One way to tell is one side of the strap will fit flush with the stud bosses that are part of the cluster housing. It’s a tight fit to say the least. Now that that’s in place, start to try and fit the bottom part. One hole will go onto the stud you made. The rest fits horribly. So take a jack and make it fit by pushing up on it. If the inner hole doesn’t line up don’t be surprised. You might have to file out the hole. Once you get the bolt to fit, semi tighten it along with the nut on the stud. You now have push out the wings of the lower part of the strap. Get a “C” clamp and make it come up flush with fork flange. Once you have that, drill the hole in your fork flange. Be careful, if you push too hard on the drill you will drill a hole in your e-brake cable or brake line. Now install the little square tab with the notch down and towards the fork. The notch is to clear the double wall on the fork flange. You might have to grind down those blocks to clear your e-brake cables. Once you thread in the bolts you cut down, make sure they don’t stick up too far to hit anything. That’s it. Yes, it is a super pain to put on, but it is rubber and works well. I wish the people who made this stuff tried to put it on themselves, maybe then it would fit properly right out of the box.
If you have an early bus, we make a killer rubber midmount that bolts right in and comes with clear instructions.
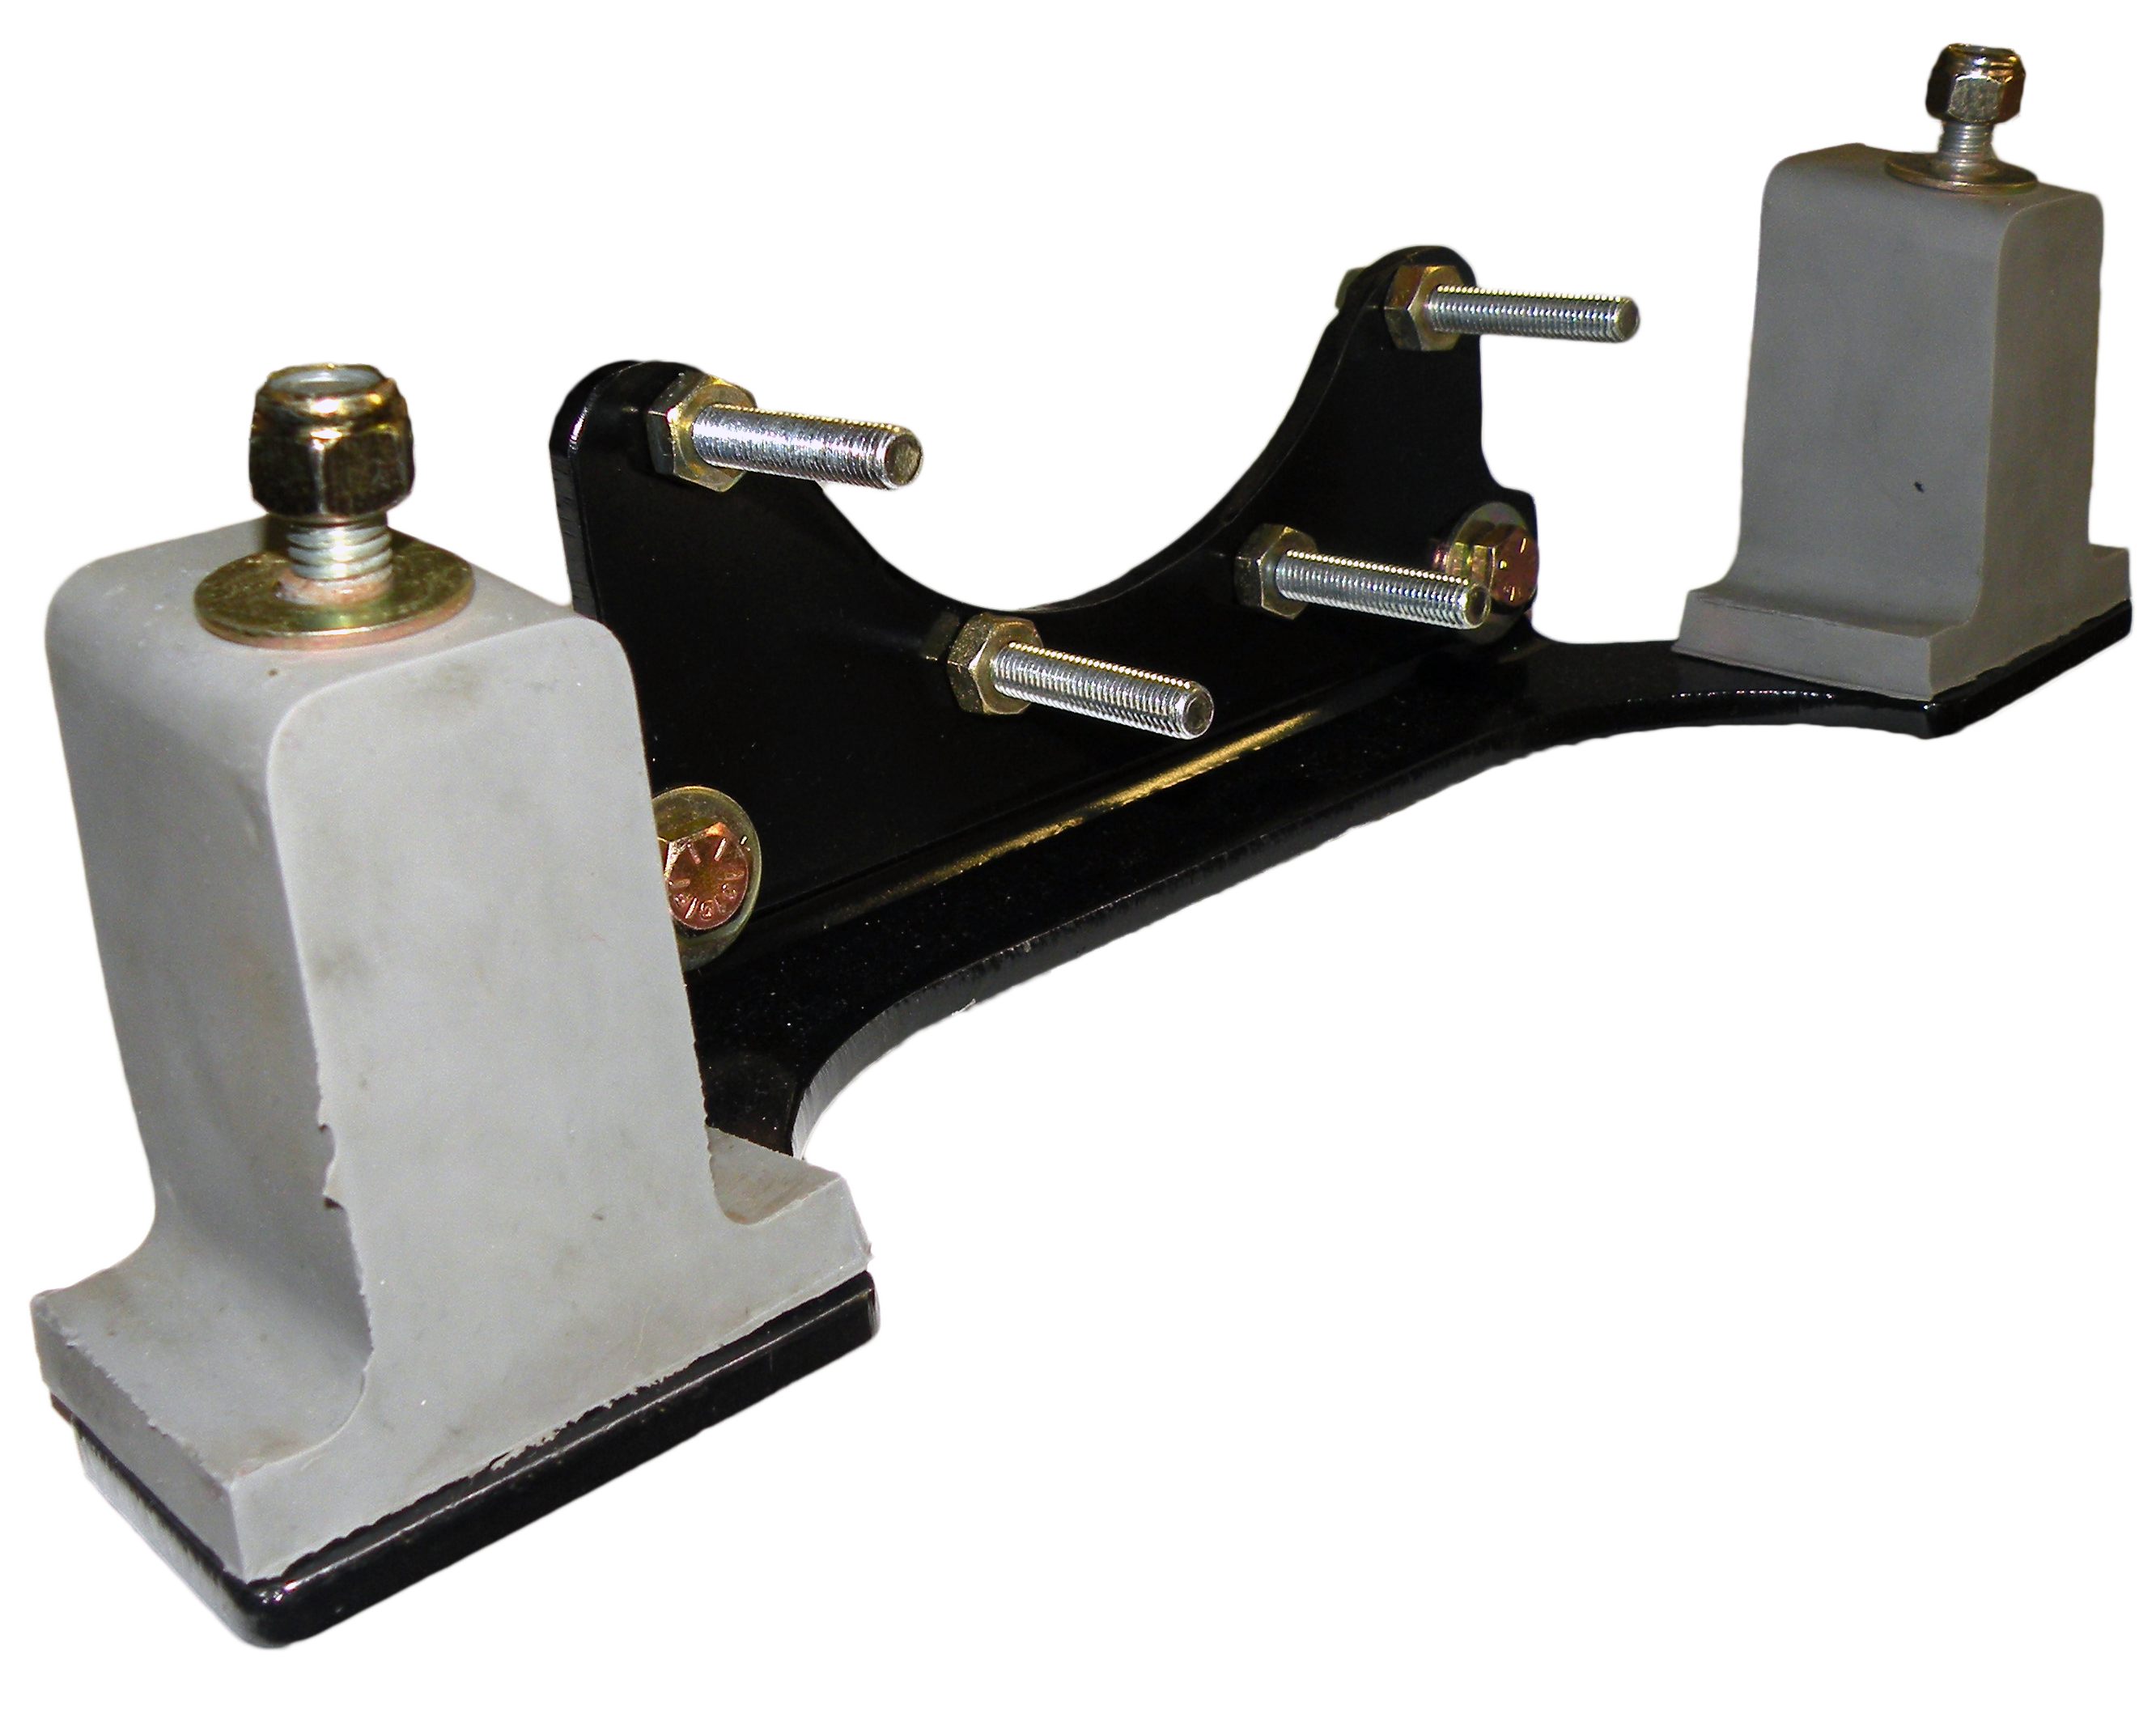
https://www.wolfgangint.com/store/product/type-2-transaxle-stabilizer-mid-mount/
It works on both reduction and non-reduction boxes. Busses without reduction boxes should have this. The fork flex is brutal when the pinion tries to climb the rear gear and let’s face it, a bus weighs a lot more than a bug, ghia, or thing.
You’ll remove the four lower studs of the cluster housing by double nutting them or using vise grips. Then install the smaller of the two steel plates. Clean up the grease from inside the transmission support fork. While you’re cleaning you will see a hole that is in it. Not sure what the factory had in that hole but hey, it’s there. Now grab one of the rubber mounts. The top is the part without a flange on it. Look carefully it has an angle to it. Match the angle to the angle of the fork and put it up so that the stud goes through that hole you were looking at. Run a nut and washer down on the stud. Now put the cross plate over the rubber mount and run the washer and nut up, so the the two holes in the plate match up. I leave things loose until I get these short bolts in. Once you have those short bolts in, tighten everything up. That’s it. Easy.
The other type of mid mount is a solid one. This should only be used on race cars, sand rails, or serious dirt cars.
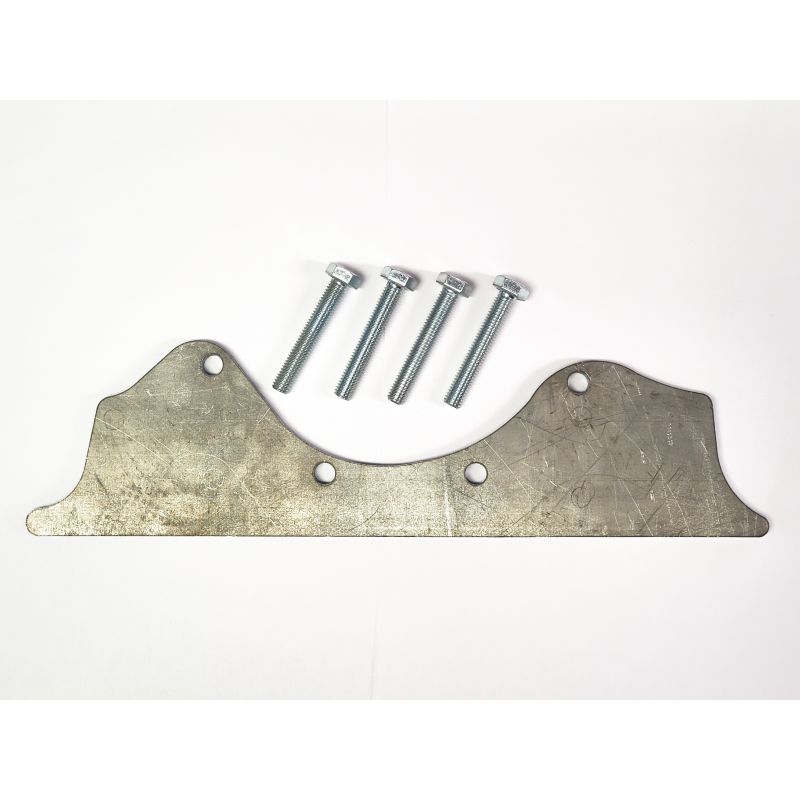
To install, pull the upper four studs out of the cluster housing. Install the mount with longer bolts or longer studs and nuts. Once that is tight, break out the welder and weld the ends to the transmission fork. Now how do I get the trans out if I need to? Well you undo the cluster housing bolts that you put in and slide the trans out.
So there you have it. Next time you dump the clutch, think about what’s happening from what I said earlier.

