Part #: N109051
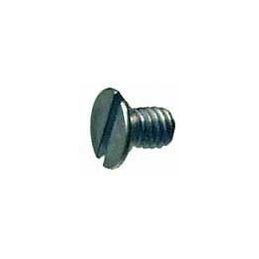
Side Popout Window Frame Screws (3.5mmX6mm) Frame to Hinge
Screws for replacement pop out window frame to hinge
Application:- Bus (Type 2): -67
Part #: N109051
Screws for replacement pop out window frame to hinge
Application:Part #: N107101
This is a list of the most common screws you might need..
Application:Part #: 211837659
This nylon washer goes on the wing bolt keeping the bolt from chewing up the slide on the safari window. Washers sold individually 8 are required for Front Safaris and 4 are required for Rear Safaris.
Application:Part #: N185164
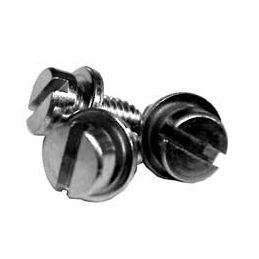
Screws for replacement pop out window Latches to Body
Application:Part #: N139681
This is a list of the most common screws you might need..
Application:Part #: N203551F
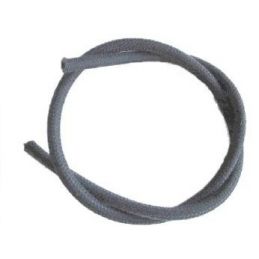
These are new hoses that are more resistant to Ethanol, meaning they last longer. This type of hose is what we now recommend.
Application:
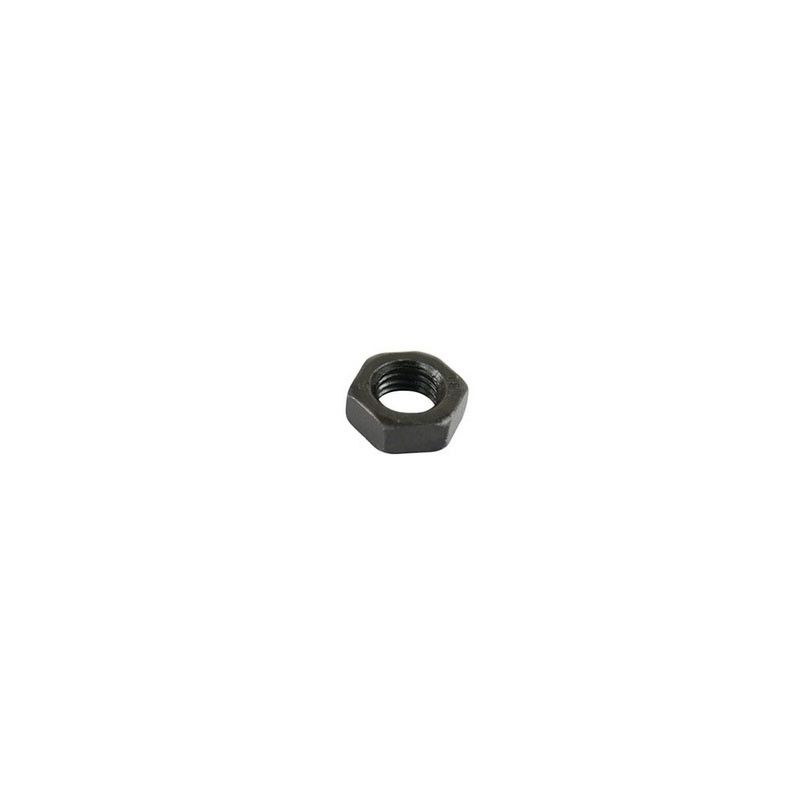
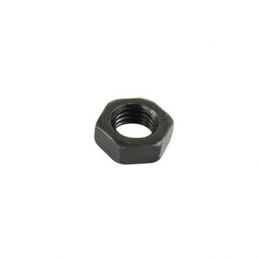
This screw rides against your valve, opening and closing it. These screws do wear out, so check the end that rides on the valve. If you see any pits in the adjusting screw, you will need to replace it. We're not big fans of the stock adjusting screws and feel you are much better off with swivel feet adjusting screws. You'll find SWIVEL FEET ADJUSTERS in the aftermarket section. Also take a look at the jam nuts. If the corners of a nut are rounded off, replace it; it'll save your knuckles. When you tighten the nuts, remember that snug is fine; you don't have to gorilla them tight. To adjust your valves; pop the cap off your distributor, turn your motor over by hand until the rotor lines up with the #1 wire. You should see a small line on the distributor body and the crank pulley notch should line up with the split in the case. Take off the valve cover on the #1 - #2 side (passenger's side). Adjust #1 intake and exhaust to .006". If you are not sure on your feel with the gauge, try and slide a .007" gauge in. If the .007" gauge fits, you're too loose. With #1 done, rotate the motor by hand counterclockwise 180 degrees and adjust #2 intake and exhaust. Clean your valve cover and install a new gasket. Put that cover back on. Now pop off the #3 - #4 valve cover. Rotate the motor again counterclockwise 180 degrees and adjust #3. Rotate motor again counterclockwise 180 degrees and do #4. Put a new gasket in the valve cover and pop it back on. Put your cap back on the distributor and you are done.
Bus (Type 2): 1800-2000

No customer reviews for the moment.
Part #: 111198057A
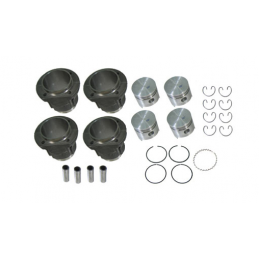
These come in sets of four pistons with rings, four cylinders, four wrist pins and eight wrist pin keepers.
Application:Part #: 1198159
These rings are cast iron.
Application:Part #: 2101303
Whether your motor lives or not can depend upon this little shim.
Application:Part #: 021101481
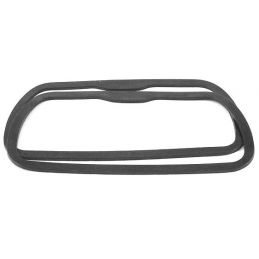
This gasket goes between the valve cover and the head.
Application:Part #: 021198075BCH
These come in sets of four pistons with rings, four cylinders, four wrist pins and eight wrist pin keepers.
Application:Part #: 1109398
These rocker studs are much stronger than the stock studs and are .100" longer to allow more flexibility when setting your rocker arm geometry..
Application:Part #: 1198163ATS
94mm Piston Rings Total Seal
Application:Part #: 1101392
Whether your motor lives or not can depend upon this little shim.
Application:Part #: 1198161
These rings are cast iron.
Application:Part #: 029198175
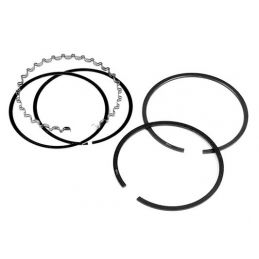
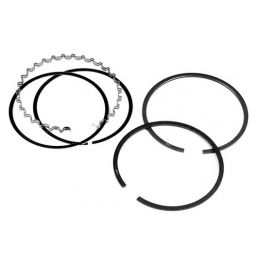
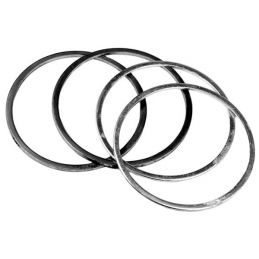
Rings on the pistons are there to eliminate "blow-by".
Application:Part #: 1101381
Whether your motor lives or not can depend upon this little shim.
Application:Part #: 021101361K
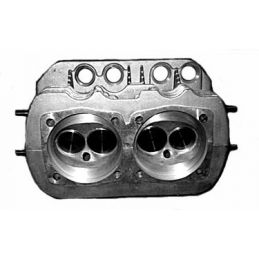
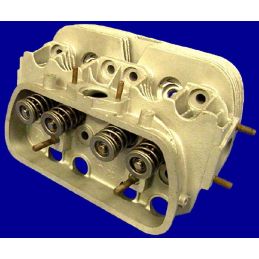
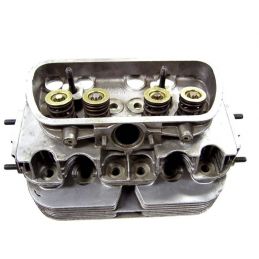
All of our rebuilt cylinder heads are built from non-cracked or non-welded head cores (rebuilt welded heads will usually crack again next to the weld).
Application:Part #: 311198169A
Rings on the pistons are there to eliminate "blow-by".
Application:Part #: 1101383
Whether your motor lives or not can depend upon this little shim.
Application:Part #: 021198175A
Rings on the pistons are there to eliminate "blow-by".
Application:Part #: 111198157B
Rings on the pistons are there to eliminate "blow-by".
Application: